Lash extensions are a beauty service designed to enhance your natural lashes with added length, volume and curl for a custom look.
Styles
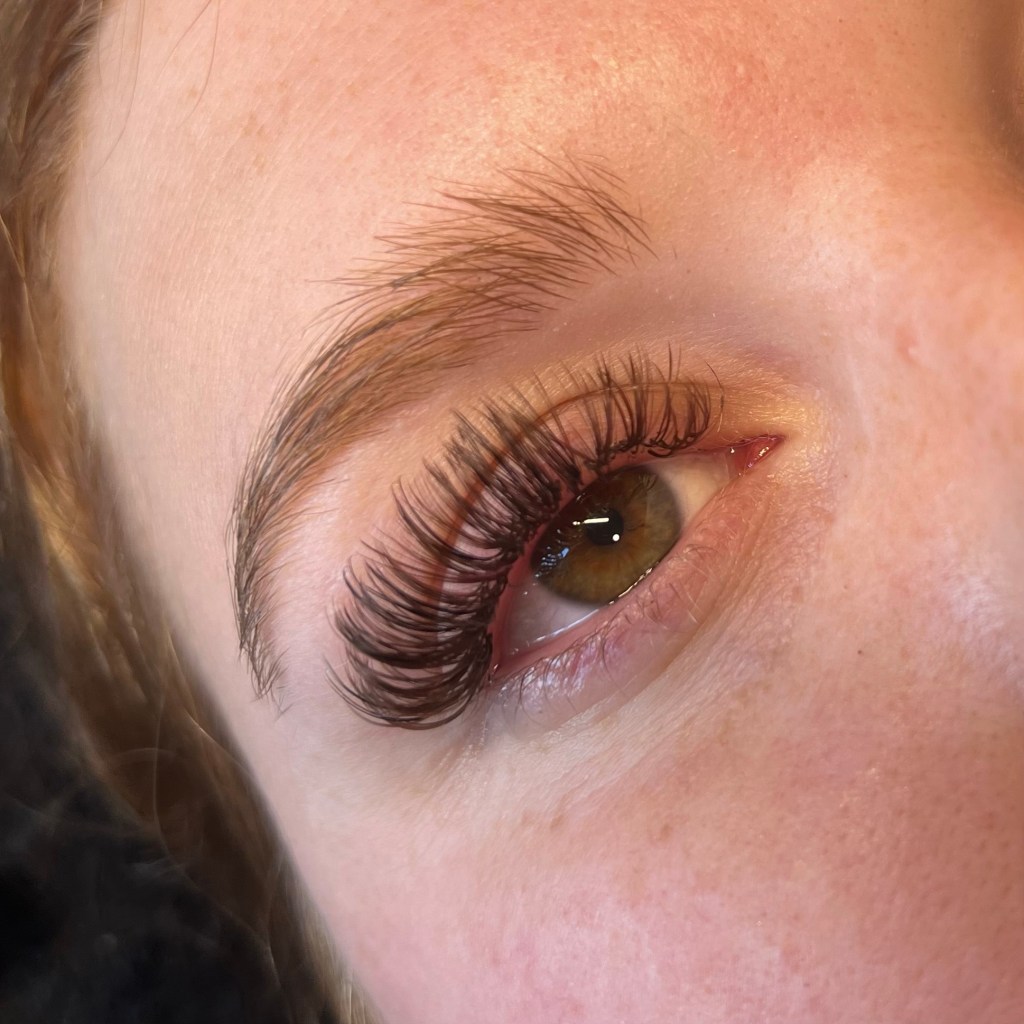
Classic:
- A natural enhancement where one extension is applied to each natural lash.
- Perfect for a subtle elegant look that enhances length and curl.

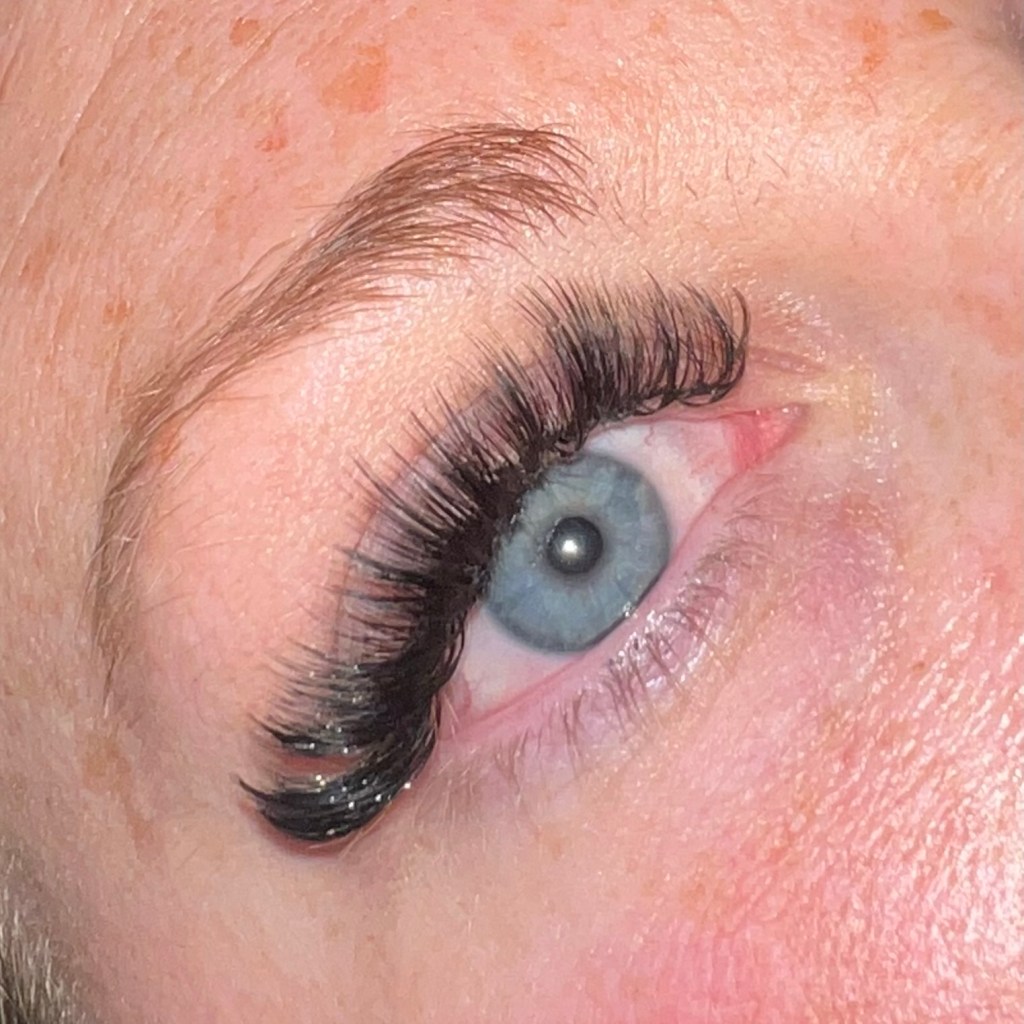
Volume:
- Multiple lightweight extensions are fanned and applied to each natural lash for a fuller, more dramatic effect.
- Great for those who love a bold, glamorous look.


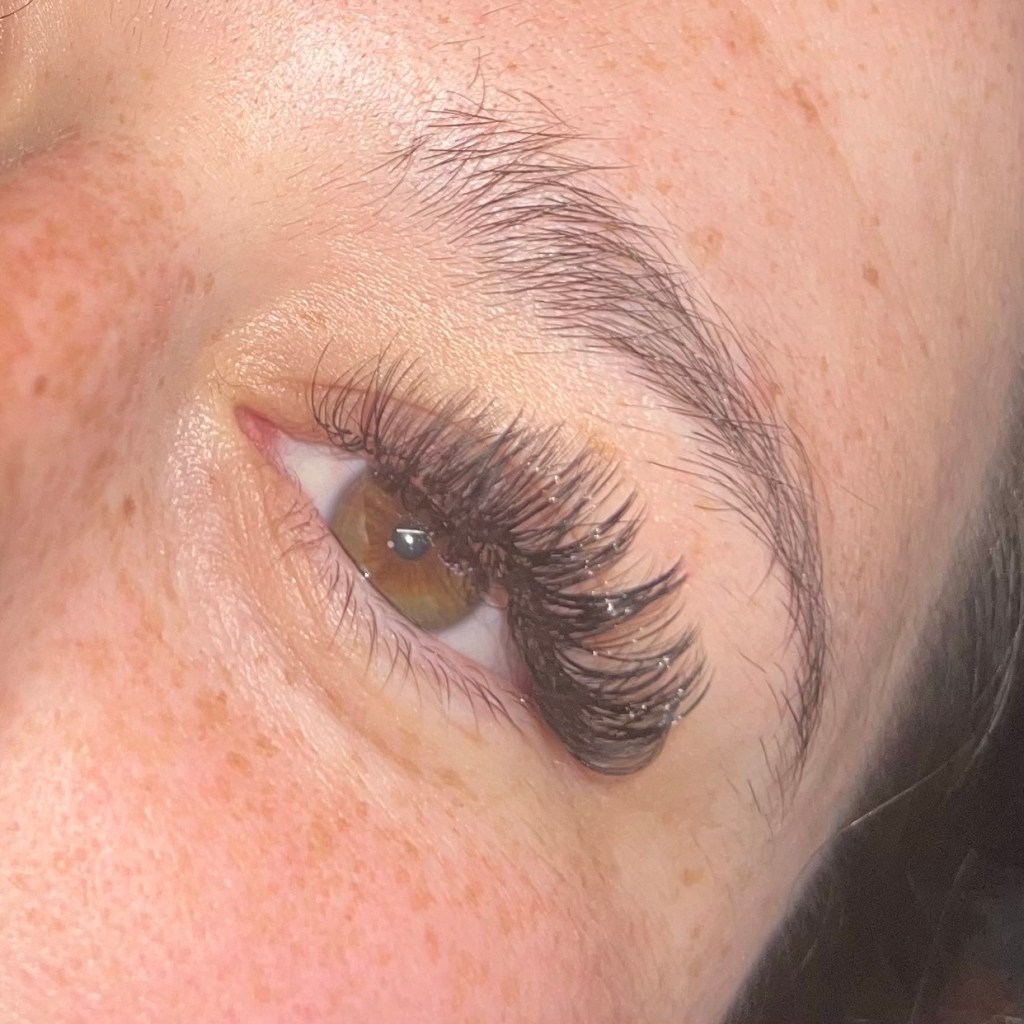
Hybrid:
- A mix of Classic and Volume lashes for a textured, dimensional appearance.
- Ideal for achieving a balanced look that’s both natural and voluminous.
Customization Options:
Length: From short and natural to long and striking.
Curl: Ranging from gentle lifts to dramatic curls.
Thickness: Lightweight for comfort or denser lashes for impact.
Whatever style you prefer your lash artist is able to tailor the look to you and your desired look.
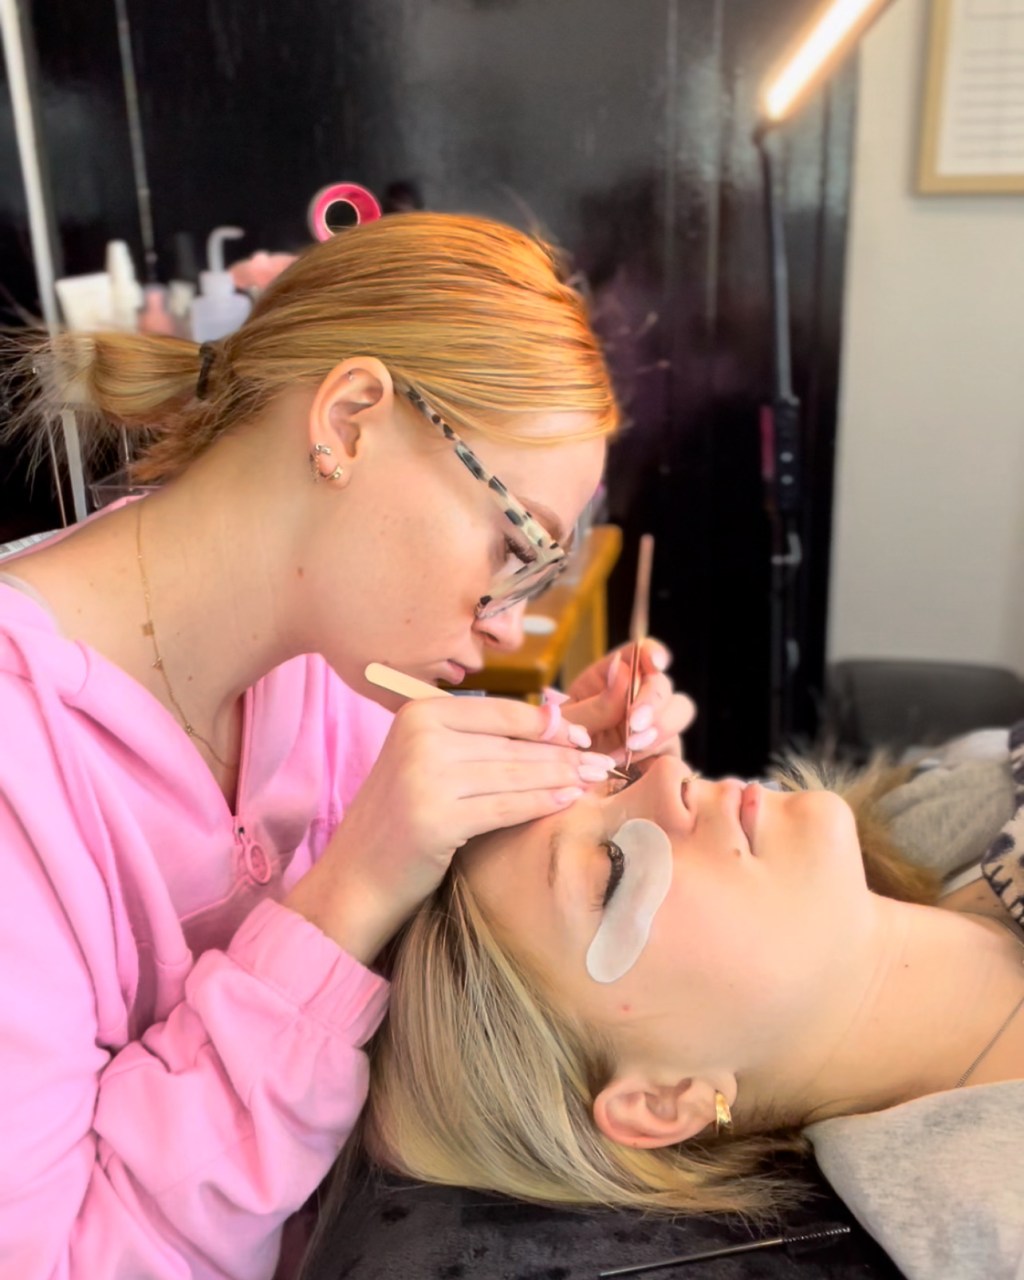
The Process
Consultation: Discuss the desired length, style, and volume to customize the look.
Preparation:
• Cleanse natural to lashes to remove oils and makeup.
• Apply under-eye to pads the lower lashes.
Application:
• Isolate individual natural lashes using tweezers.
• Attach extensions one by one using a safe, semi-permanent adhesive.
Drying and Final Check:
• Allow adhesive to fully dry.
• Ensure lashes are uniform and make final adjustments.
Reveal:
• Remove under-eye pads and show off the finished look.
• Provide aftercare instructions for maintaining the extensions.
• Don’t forget to get your content babe. <3
Time Required: 1-2 hours, depending on the style and volume chosen.
After Care

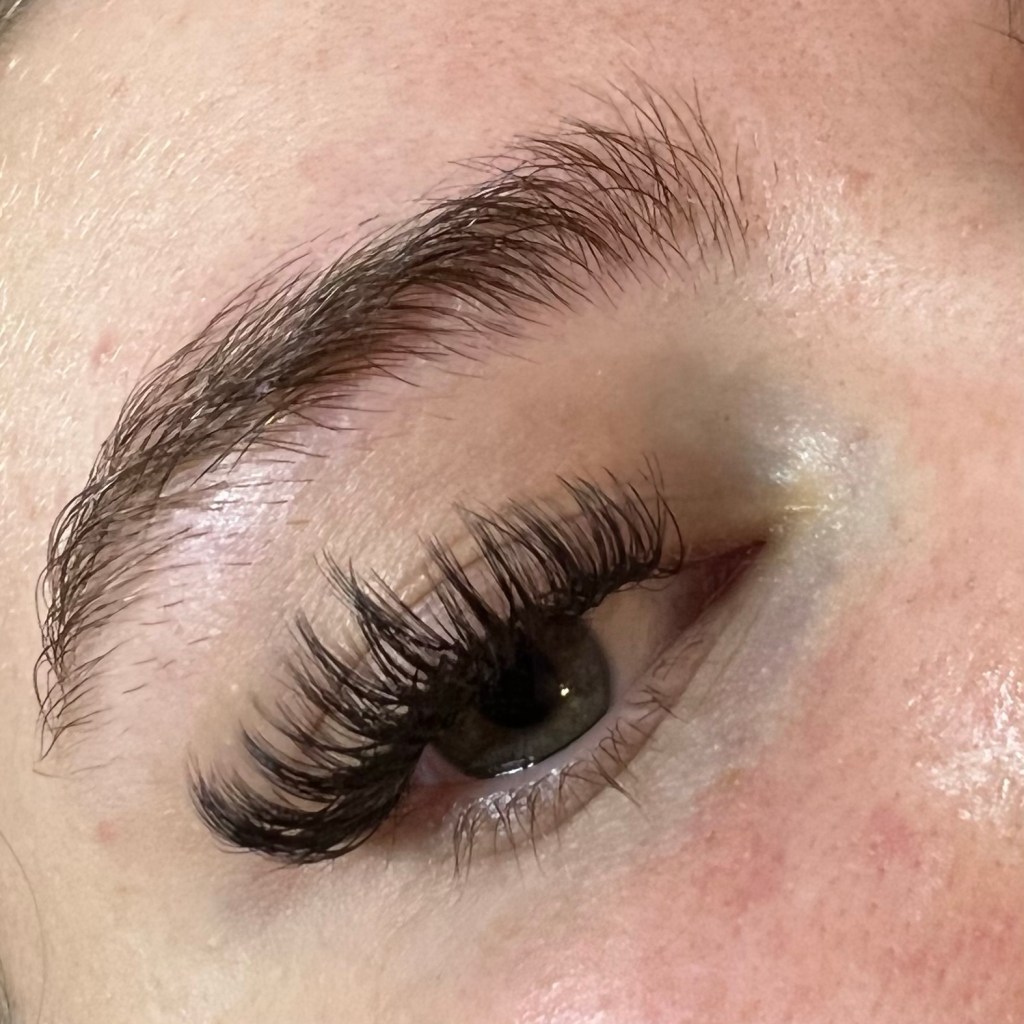
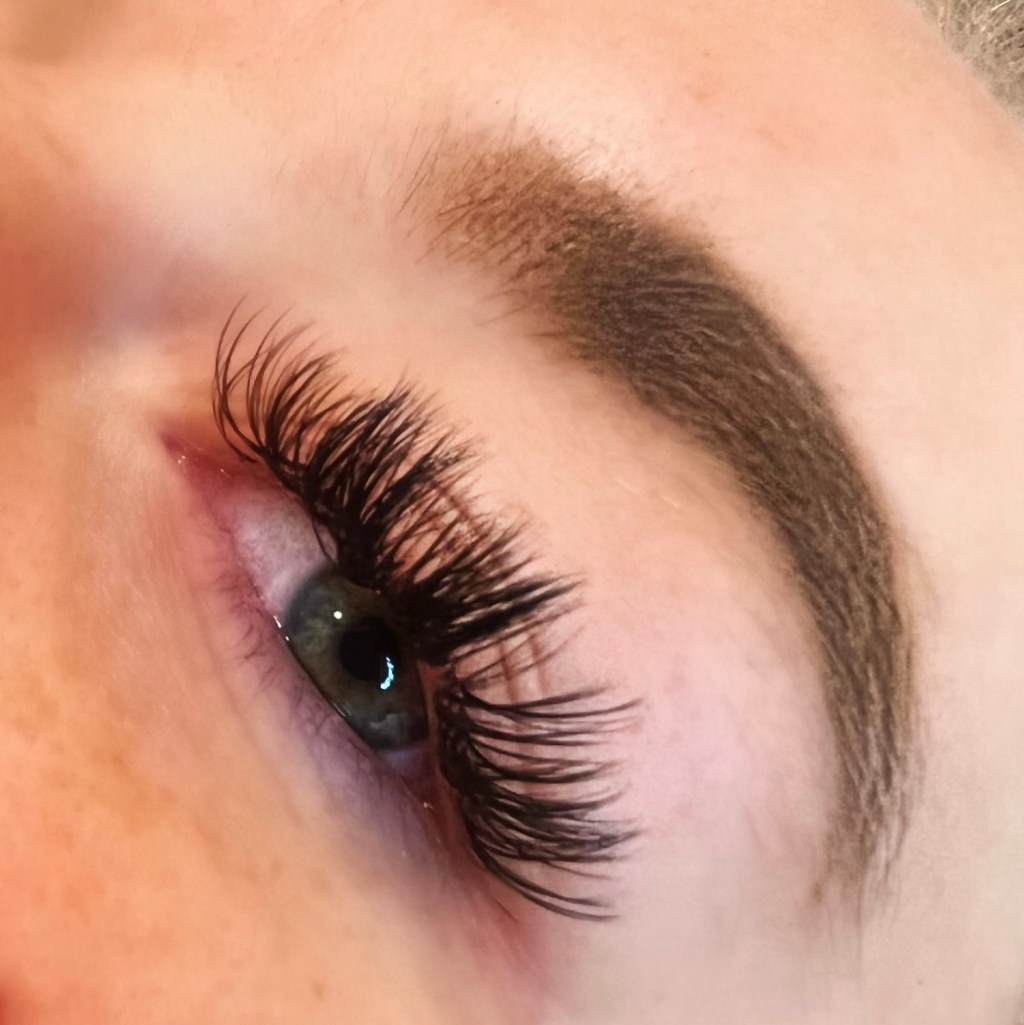
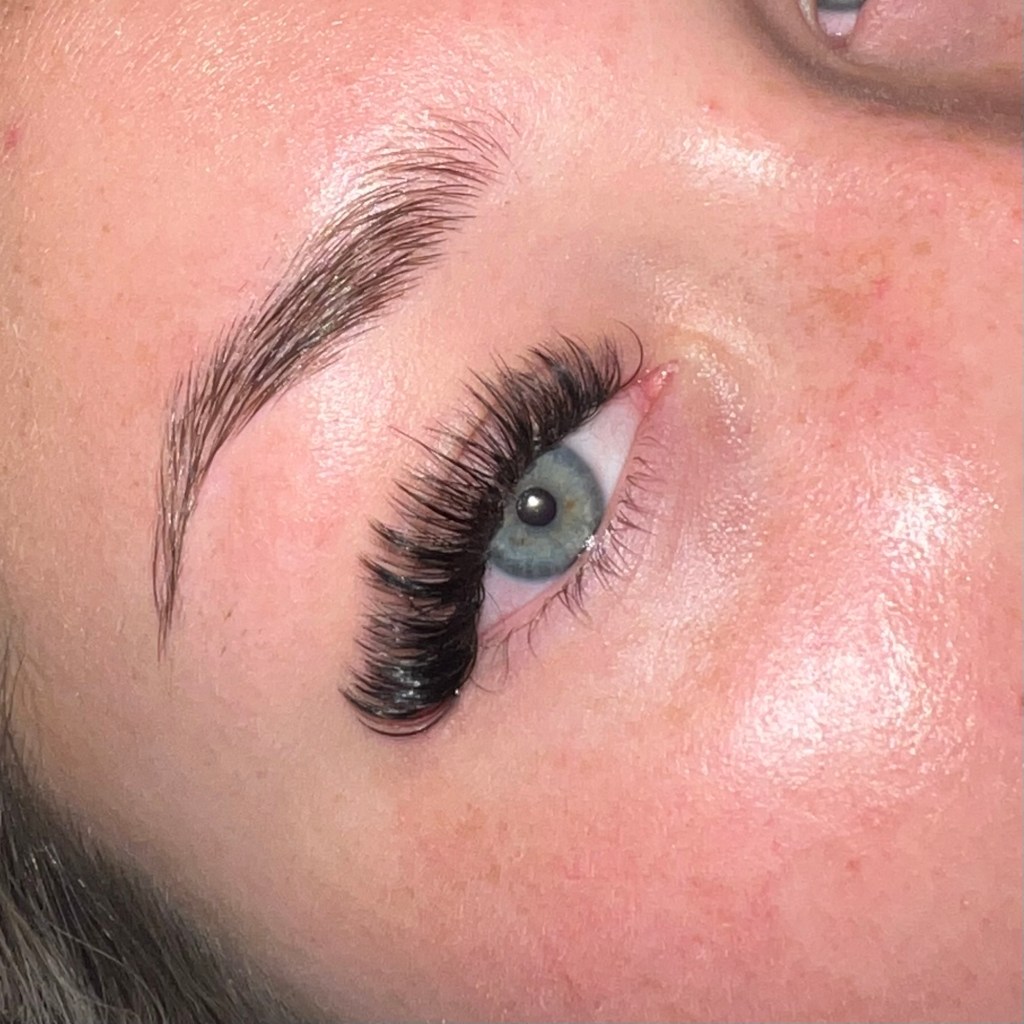
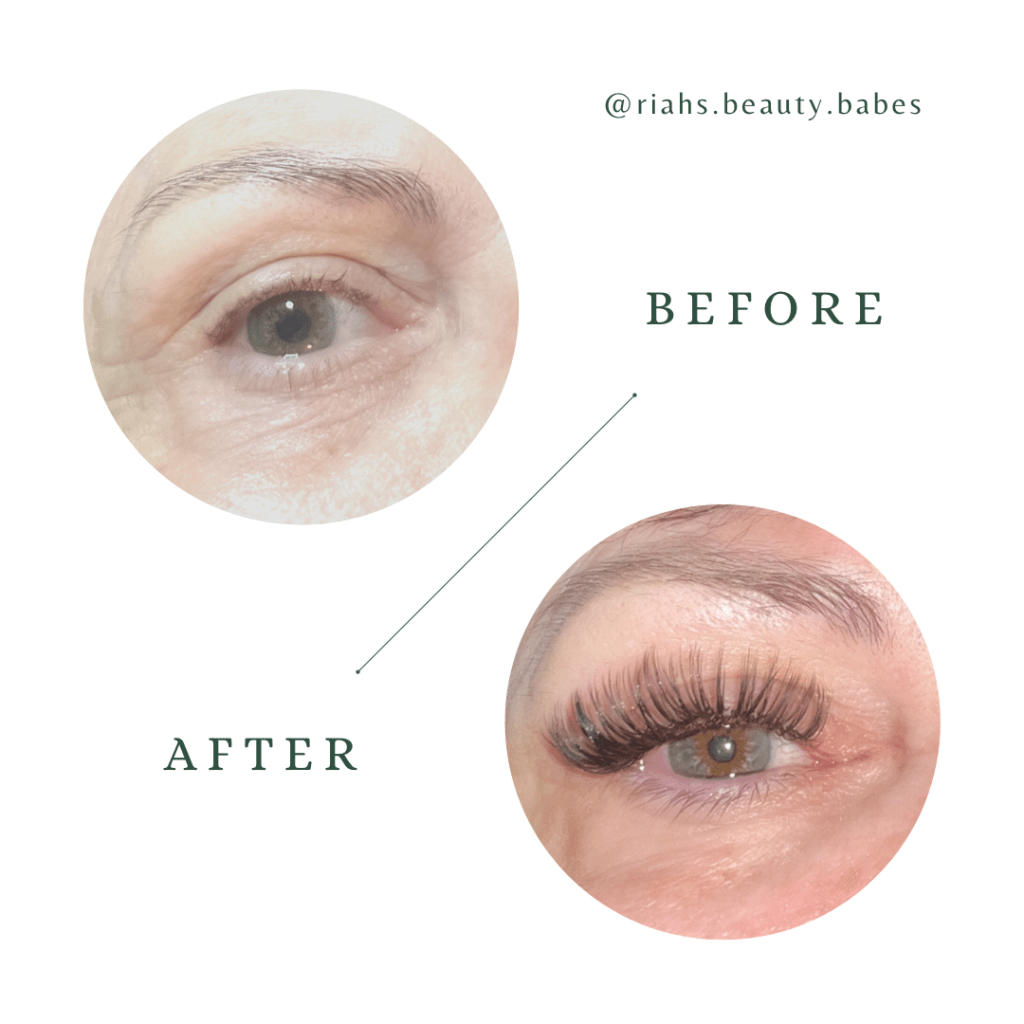
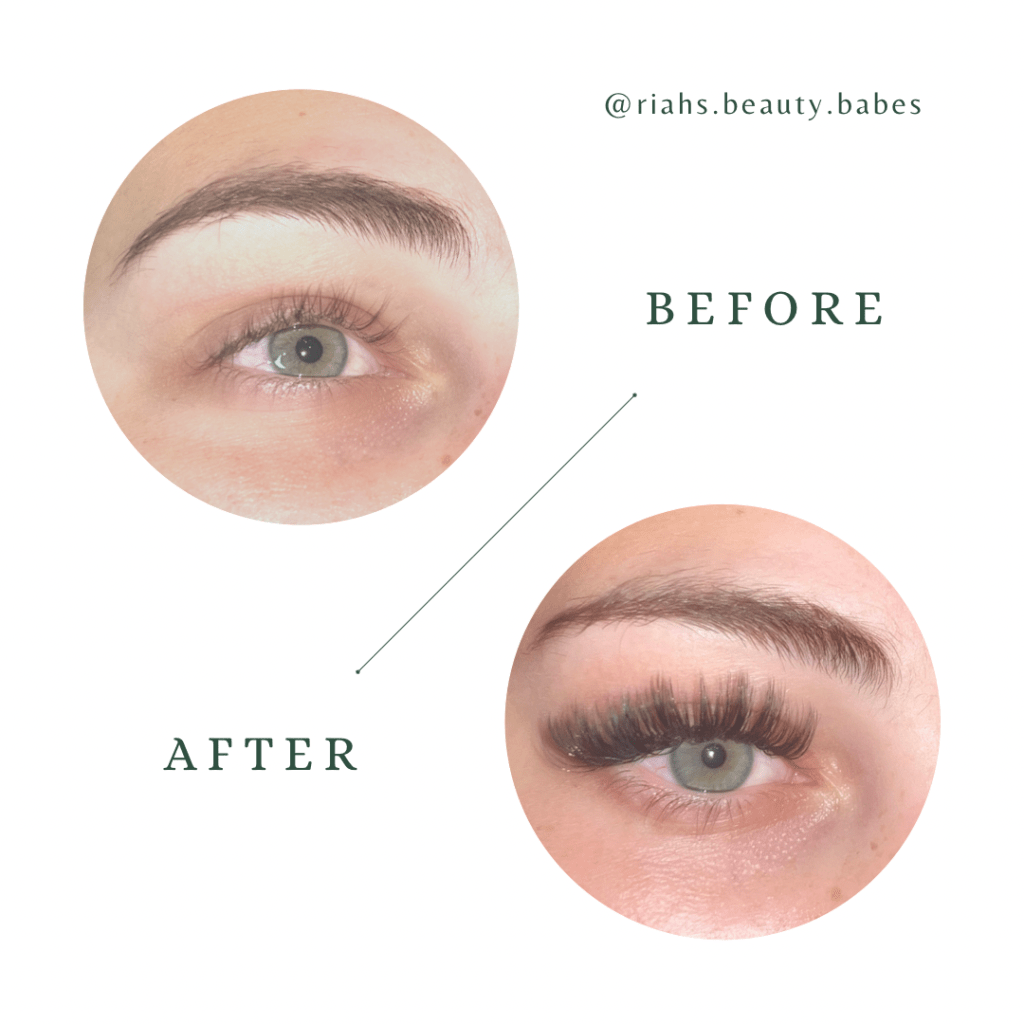
Before & After


Maintenance Tips
- Avoid oil-based products
- Be gentle, avoid rubbing, pulling and sleeping on your lashes.
- Skip mascara
- Keep away from water for the first 24-48 hours and tread lightly after this
- Brush them daily
- Schedule regular fills
Myths
❌ They will damage your lashes
❌ Eyelash extensions hurt
❌ You can’t wear makeup with lash extensions
❌ You don’t need to maintain your lashes
❌ All extensions are the same
Lash Fills
1 Week Lash Fill:
A one-week lash fill typically involves replenishing eyelash extensions to maintain their full, fresh appearance. Here’s a step-by-step description of what you can expect:
1. Consultation: The appointment begins with a brief consultation. The lash technician will ask about any concerns you have, the state of your lashes, and the look you desire.
2. Preparation: You’ll lie down comfortably, and the technician will cleanse your lashes to remove any oils, makeup, or debris. This ensures a clean base for the new extensions.. Inspection and Removal: The technician will assess your current lash extensions, remove any grown-out or damaged ones, and identify areas that need filling. This helps maintain the health of your natural lashes and the overall appearance.
4. Application: The technician will apply new lash extensions to fill in the gaps where lashes have fallen out. Since it’s only been a week, the process is usually quicker than a full set application, focusing on maintaining volume and coverage.
5. Drying and Final Check: Once the new extensions are applied, the technician will ensure the adhesive is properly dried, often using a fan or nano mister. They will then check the lashes to ensure they are evenly distributed and looking natural.
6. Aftercare Advice: The technician will provide aftercare tips to help maintain the longevity of your lash extensions, such as avoiding oil-based products, not rubbing your eyes, and using a lash brush to keep them neat.
A one-week lash fill is a quick and efficient way to keep your lashes looking their best between full sets, ensuring they stay full, thick, and beautifully arranged.
2 Week Fill
A two-week lash fill is similar to a one-week fill but involves addressing more significant gaps due to the natural lash shedding cycle. Here’s a detailed description of the process:
1. Consultation: The session starts with a consultation where the lash technician inquires about any issues you’ve experienced, your satisfaction with the current set, and your desired look.
2. Preparation: You’ll recline comfortably as the technician cleanses your lashes to remove oils, makeup, and debris. This step ensures a clean surface for the new extensions to adhere to.
3. Inspection and Removal: The technician evaluates the condition of your existing extensions. Any grown-out, twisted, or damaged extensions are removed to prevent tangling and maintain the health of your natural lashes.
4. Application: New extensions are applied to fill in the gaps left by natural lash shedding and removed extensions. This step takes longer than a one-week fill as more lashes need to be replaced to maintain the desired fullness and symmetry.
5. Balancing the Look: The technician ensures that the new extensions blend seamlessly with the remaining ones, achieving a uniform and balanced look. This may involve adding more lashes in some areas to create the desired density and shape.
6. Drying and Final Check: After applying the new extensions, the technician ensures the adhesive is properly dried, often using a fan or nano mister. They will then conduct a thorough check to make sure the lashes are evenly distributed and look natural.
7. Aftercare Advice: The technician provides aftercare instructions to help prolong the life of your lash extensions, such as avoiding oil-based products, not rubbing your eyes, and using a lash brush to keep them neat.
A two-week lash fill is essential to maintain the volume, length, and overall appearance of your lash extensions, addressing more noticeable gaps and ensuring a consistent, full lash line.
3 week fill
A three-week lash fill addresses more significant gaps and potential wear due to the natural lash cycle and daily activities. Here’s a detailed description of the process:
1. Consultation: The session begins with a consultation where the lash technician asks about any concerns or preferences you have, assesses the current state of your lashes, and discusses the desired outcome.
2. Preparation: You’ll recline comfortably as the technician cleanses your lashes to remove oils, makeup, and debris. This step ensures a clean surface for optimal adhesion of the new extensions.
3. Inspection and Removal: The technician examines your existing extensions and removes any grown-out, twisted, or damaged ones. This step is crucial to prevent tangling and ensure the health of your natural lashes.
4. Application: Given that more time has passed, more natural lashes have shed, creating larger gaps. The technician will apply new extensions to these gaps, ensuring even coverage and fullness. This process takes longer than one or two-week fills due to the increased number of lashes needing replacement.
5. Balancing the Look: The technician will meticulously blend the new extensions with the remaining ones, paying attention to the overall symmetry and volume to achieve a uniform, balanced appearance.
6. Drying and Final Check: Once the new extensions are in place, the technician ensures the adhesive is properly dried, often using a fan or nano mister. A thorough check follows to ensure the lashes are evenly distributed and look natural.
7. Aftercare Advice: The technician provides aftercare instructions to help maintain the longevity of your lash extensions, such as avoiding oil-based products, not rubbing your eyes, and using a lash brush to keep them neat.
A three-week lash fill is crucial to maintaining the fullness and aesthetic of your lash extensions, addressing more pronounced gaps and ensuring a cohesive, polished look.


Leave a comment